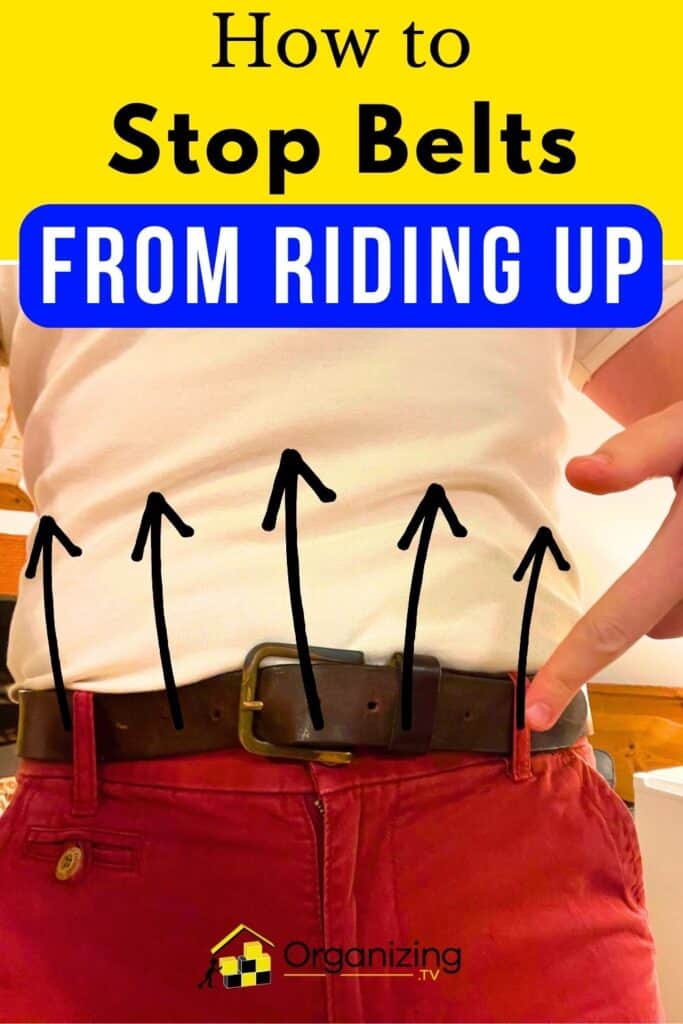
A belt riding up can cause discomfort or mess with your style. So how do you stop a belt from riding up? Check out the information below to know everything you need to ensure your belt doesn’t ride up.
Get the Right Size
A crucial part of wearing a belt is ensuring you have the correct size. To know how to go about this, use your pants size and go a size higher.
For instance, if your jeans is size 36, go for a size 38 belt. This ensures you have the precise amount of strap leftover once you fasten the buckle. Now let’s look at the best tips used to stop your belt from riding up.
Tips to Stop Your Belt from Riding Up
You need to take several steps to prevent your belt from riding up. They are:
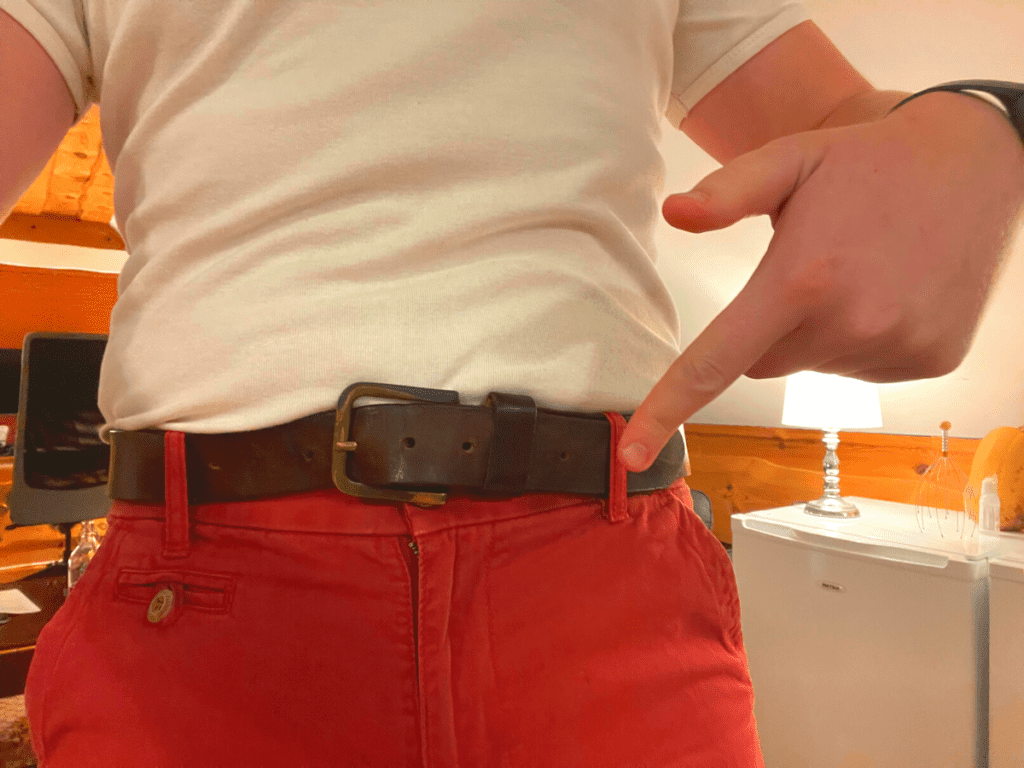
Wear Pants at Your Waist
Put your pants on properly before you put your belt on. This means the pants should sit comfortably at your waist. If your pants don’t stay in place when you put on the belt, you may need to visit a tailor to reduce your pants’ size.
Put on the Belt
Take the end of the belt and start by putting it through the left-side hoops. Make sure you thread the belt’s end through each loop. One cause of pants riding up is missing a loop. Usually, missing a loop on the side or back is a cause of a belt riding up. Buckle the belt when you reached the last loop, and you have threaded through each loop.
Try Going for Single Tongue Buckles
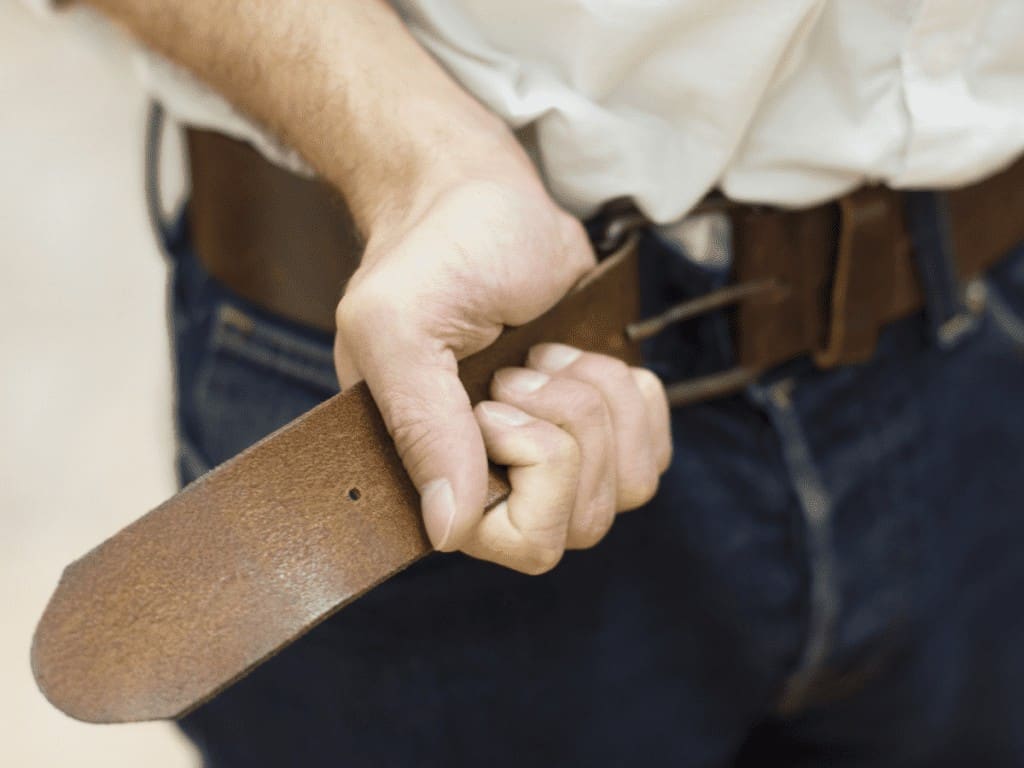
When choosing a belt, try going for a single tongue buckle. It has a prong attached to one side of the buckle’s frame. Thread the belt through the loops as you would any belt. Now thread the belt’s end through the frame of the buckle. When it’s tight enough, push the prong through the closest hole of the belt. Tuck the remaining part of the belt in the closest loop.
Belt Loops
Belt loops are another thing you should consider to stop your belt from riding up. Large belt loops may mean your belt doesn’t fit properly. This, in turn, leads to your belt riding up. To ensure you get the right size of belt loops, use the guide below.
Step 1
To find the loop length, measure your belt’s width and add 1 inch. For example, if your belt is 1.5 inches wide, add 1 inch to get a loop length of 2.5 inches. Now you can start cutting the fabric to create your loops.
Step 2
You need to determine the number of loops you need for your pants. Ideally, women’s jeans have five loops, and men have seven loops. For women, you get one at the center back seam, 2 for the front, and 2 for the side seams. For men, you need to add two more loops on the back of the pants. Take note this is just a guide, and you can add more loops if you like.
Step 3
Cut a strip of fabric, the same fabric as your pants, to fit all the loops you’ll be sewing. Do this by deciding the number of loops you want and multiplying that number by the loop length. Make sure the strip you cut is three times wider than the width of the finished loops.
For example, if you want to make five loops that are 2 inches long and half an inch wide, cut a strip that is 15 inches long and 1 ½ inch wide.
Step 4
Fold the fabric lengthwise in thirds and iron it. Make sure the wrong sides of the fabric are facing up before you start ironing. Fold one of the long edges by a third and towards the middle. Now fold the other end the same way but towards the center to ensure the strip is narrow. Press a warm or hot iron, depending on the fabric, to ensure the folds stay in place.
Step 5
If you are using a sewing machine, thread it with a thread that matches the color of your pants’ topstitching. Then, sew straight stitches across the long sides of the strip. Make sure your stitches are as close to the edge as possible.
Step 6
Now you can cut the stitched fabric. Cut into equal lengths for your loops. Use the measurements you took earlier as your guide. Now the loops are ready to be attached to your belt. Once you finish sewing them you will be done.
How Do You Fix a Belt that Sticks Out
Sometimes, a belt sticks out because it may be longer, or you may have far apart loops. Either way, you can solve this by cutting the belt. The type of material used to make the belt determines how you will go about cutting it.
The following are the four most common belt materials and how to cut them:
- Leather – trace the curve of the belt’s end on a paper as a stencil. Trace again with a marker and cut with a sturdy pair of scissors or sharp knife.
- Cotton – You can just cut it with a pair of scissors for this material. When you are done, fold the end and stitch it to prevent it from unraveling.
- Nylon – in this case, you need to cut it and seal it like a rope. Use an old knife and heat it until it’s almost red hot. Cut the belt using the hot knife. You can dip your fingers in cold water to round the rough edges to make them smoother.
Bottom Line
Stopping a belt from riding up is not a daunting task as long as you have the right tools and the know-how. Keep in mind the above solutions are recommended for people who have some idea about D-I-Y clothing projects. If you are not sure about any of the methods provided, consult a tailor.
I have also created a comprehensive guide on stopping all your clothes from riding up that may interest you to read next.
I’m an expert wardrobe organizer and a bit of a clean freak. I created this website and its YouTube channel to share practical guides about laundry and organizing. My teachings have been featured in multiple large news publications, and I’ve self-published two wardrobe organizing books and an entire course on the subject.